> ## Documentation Index
> Fetch the complete documentation index at: https://botpress-charmenta-pr-700.mintlify.site/llms.txt
> Use this file to discover all available pages before exploring further.

# Adding Cards

An empty Node isn't very interesting. To make it do something, we can add a *Card*—an individual task your bot performs within a Node.

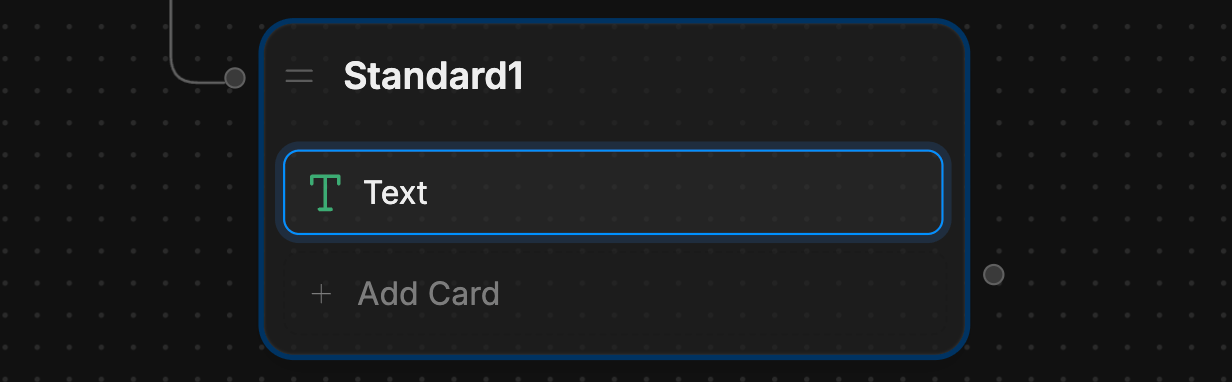
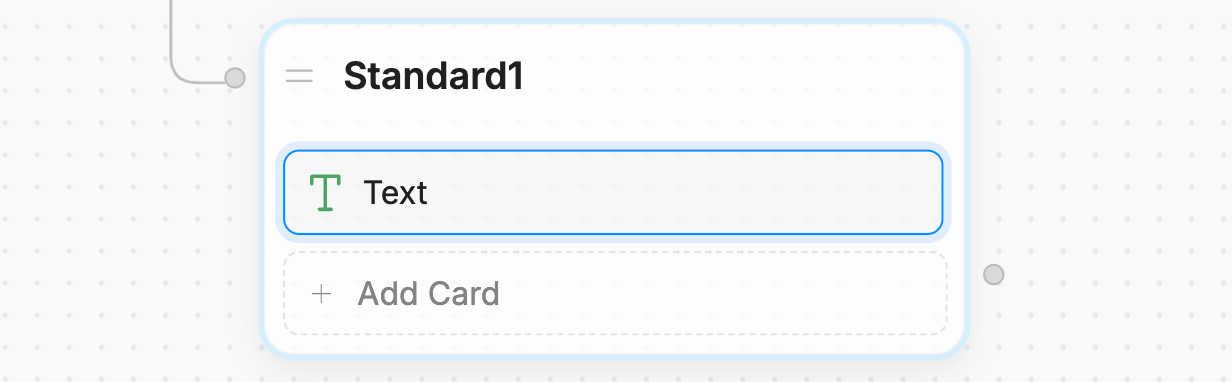
Since customers tend to ask about opening hours, let's add a Card that displays them as soon as the conversation starts:

1. In the new Node, select **+ Add Card**.
2. Under **Send Messages**, select **Text**.
<Frame>
  <img alt="Card" className="block dark:hidden" src="https://mintcdn.com/botpress-charmenta-pr-700/MARvjyf1O9JTt73h/tutorial/basics/custom-logic/assets/card.png?fit=max&auto=format&n=MARvjyf1O9JTt73h&q=85&s=b02b9b92517c995fc9775f7f01f803a5" width="1232" height="382" data-path="tutorial/basics/custom-logic/assets/card.png" />

  <img alt="Card" className="hidden dark:block" src="https://mintcdn.com/botpress-charmenta-pr-700/MARvjyf1O9JTt73h/tutorial/basics/custom-logic/assets/card-dark.png?fit=max&auto=format&n=MARvjyf1O9JTt73h&q=85&s=cb692008ddccd2c9bdd799aa8fecb09d" width="1232" height="382" data-path="tutorial/basics/custom-logic/assets/card-dark.png" />
</Frame>

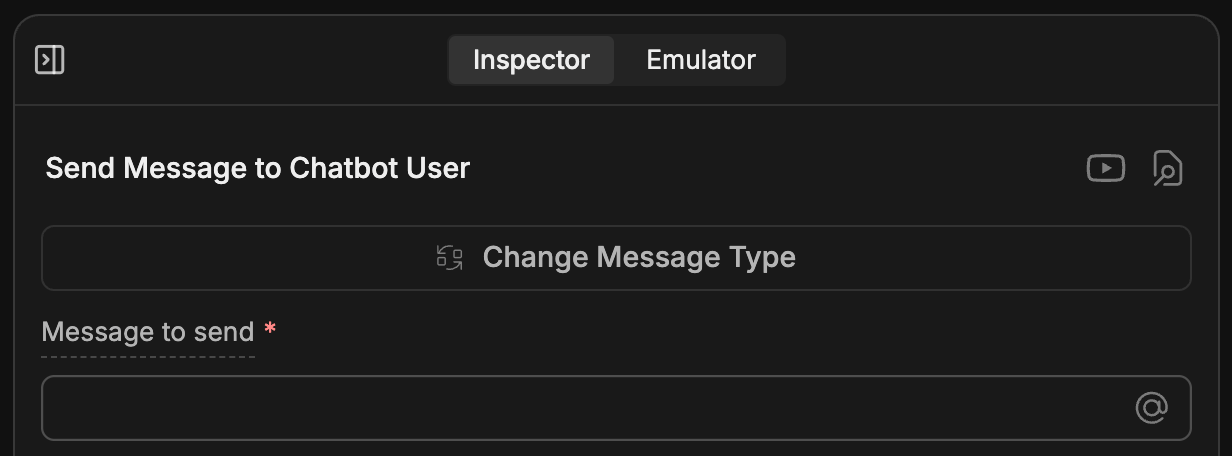
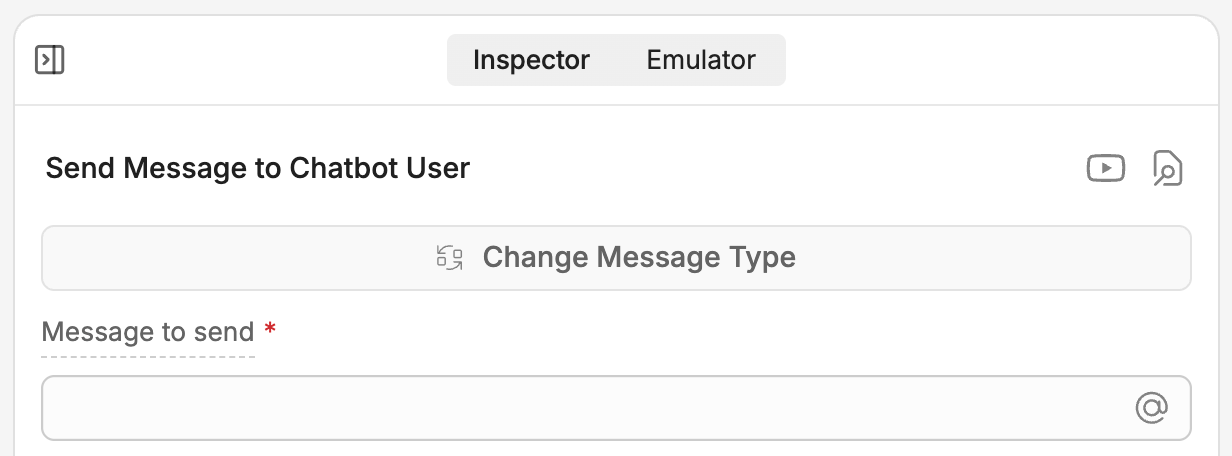
Notice that adding a Card opens the **Inspector** on the right side of the Studio:
<Frame>
  <img alt="Card inspector" className="block dark:hidden" src="https://mintcdn.com/botpress-charmenta-pr-700/MARvjyf1O9JTt73h/tutorial/basics/custom-logic/assets/card-inspector.png?fit=max&auto=format&n=MARvjyf1O9JTt73h&q=85&s=4e908cb651c543aaa5c76b51448654ed" width="1232" height="456" data-path="tutorial/basics/custom-logic/assets/card-inspector.png" />

  <img alt="Card inspector" className="hidden dark:block" src="https://mintcdn.com/botpress-charmenta-pr-700/MARvjyf1O9JTt73h/tutorial/basics/custom-logic/assets/card-inspector-dark.png?fit=max&auto=format&n=MARvjyf1O9JTt73h&q=85&s=1a2b4f26f9516206ddff1c1702d59451" width="1232" height="456" data-path="tutorial/basics/custom-logic/assets/card-inspector-dark.png" />
</Frame>

Let's add our greeting. In the **Message to send** field, paste the following:

```txt wrap theme={null}
Hello! I'm Teddy, 🐶 the customer support bot for Teddy's Pet Shop. Our opening hours are:

Monday-Friday: 10:00 AM to 6:00 PM
Saturday-Sunday: 11:00 AM to 3:00 PM
```

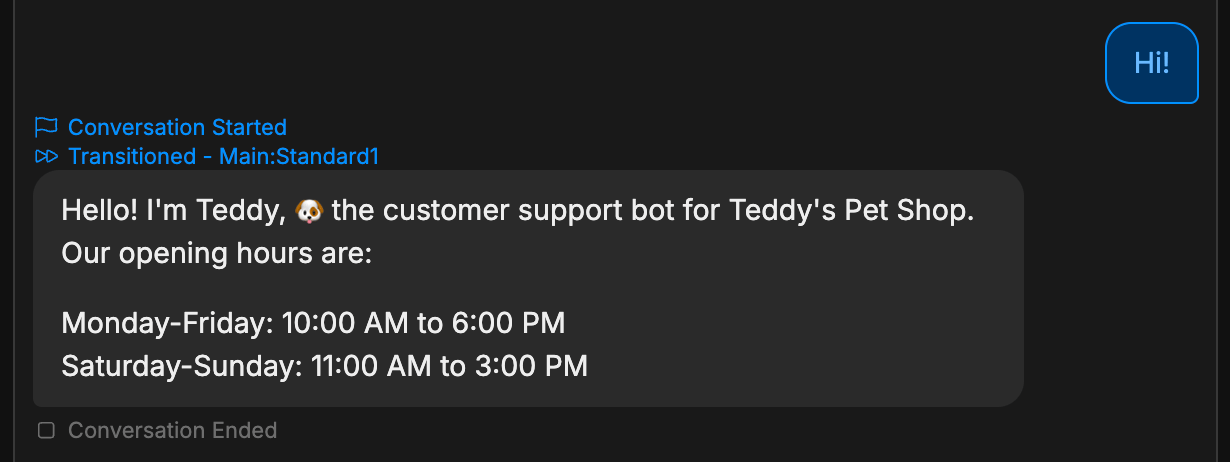
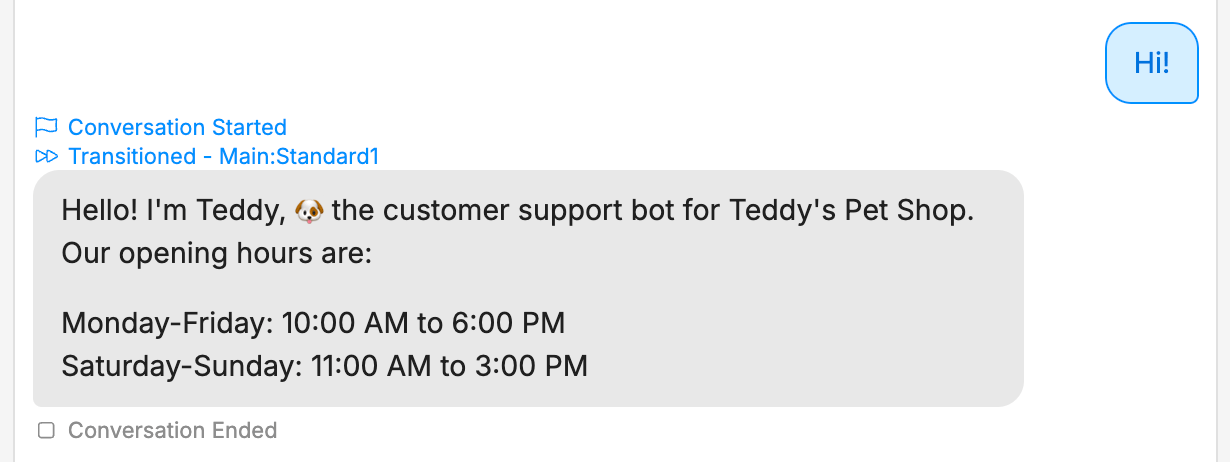
Now we can test it out. Switch back to the **Emulator** and select **Test your bot**:
<Frame>
  <img alt="Custom greeting test" className="block dark:hidden" src="https://mintcdn.com/botpress-charmenta-pr-700/MARvjyf1O9JTt73h/tutorial/basics/custom-logic/assets/custom-greeting-test.png?fit=max&auto=format&n=MARvjyf1O9JTt73h&q=85&s=272d73f6453729fd23fac12ec7cc949c" width="1230" height="462" data-path="tutorial/basics/custom-logic/assets/custom-greeting-test.png" />

  <img alt="Custom greeting test" className="hidden dark:block" src="https://mintcdn.com/botpress-charmenta-pr-700/MARvjyf1O9JTt73h/tutorial/basics/custom-logic/assets/custom-greeting-test-dark.png?fit=max&auto=format&n=MARvjyf1O9JTt73h&q=85&s=8e48c4ce5bd550e32a958098c731ed74" width="1230" height="462" data-path="tutorial/basics/custom-logic/assets/custom-greeting-test-dark.png" />
</Frame>

Nice! The bot now displays a custom greeting with the opening hours.